What We Do
End‑to‑end process: sale → install → PTO → monitoring.
Sale


Closing
Once a sale is completed, closing docs and deal information is relayed to our office staff, and they push the deal from Conversion-Install.

Deal Conversion
Once the closing docs and sales information has been relayed to the office, they follow through with the Deal Conversion.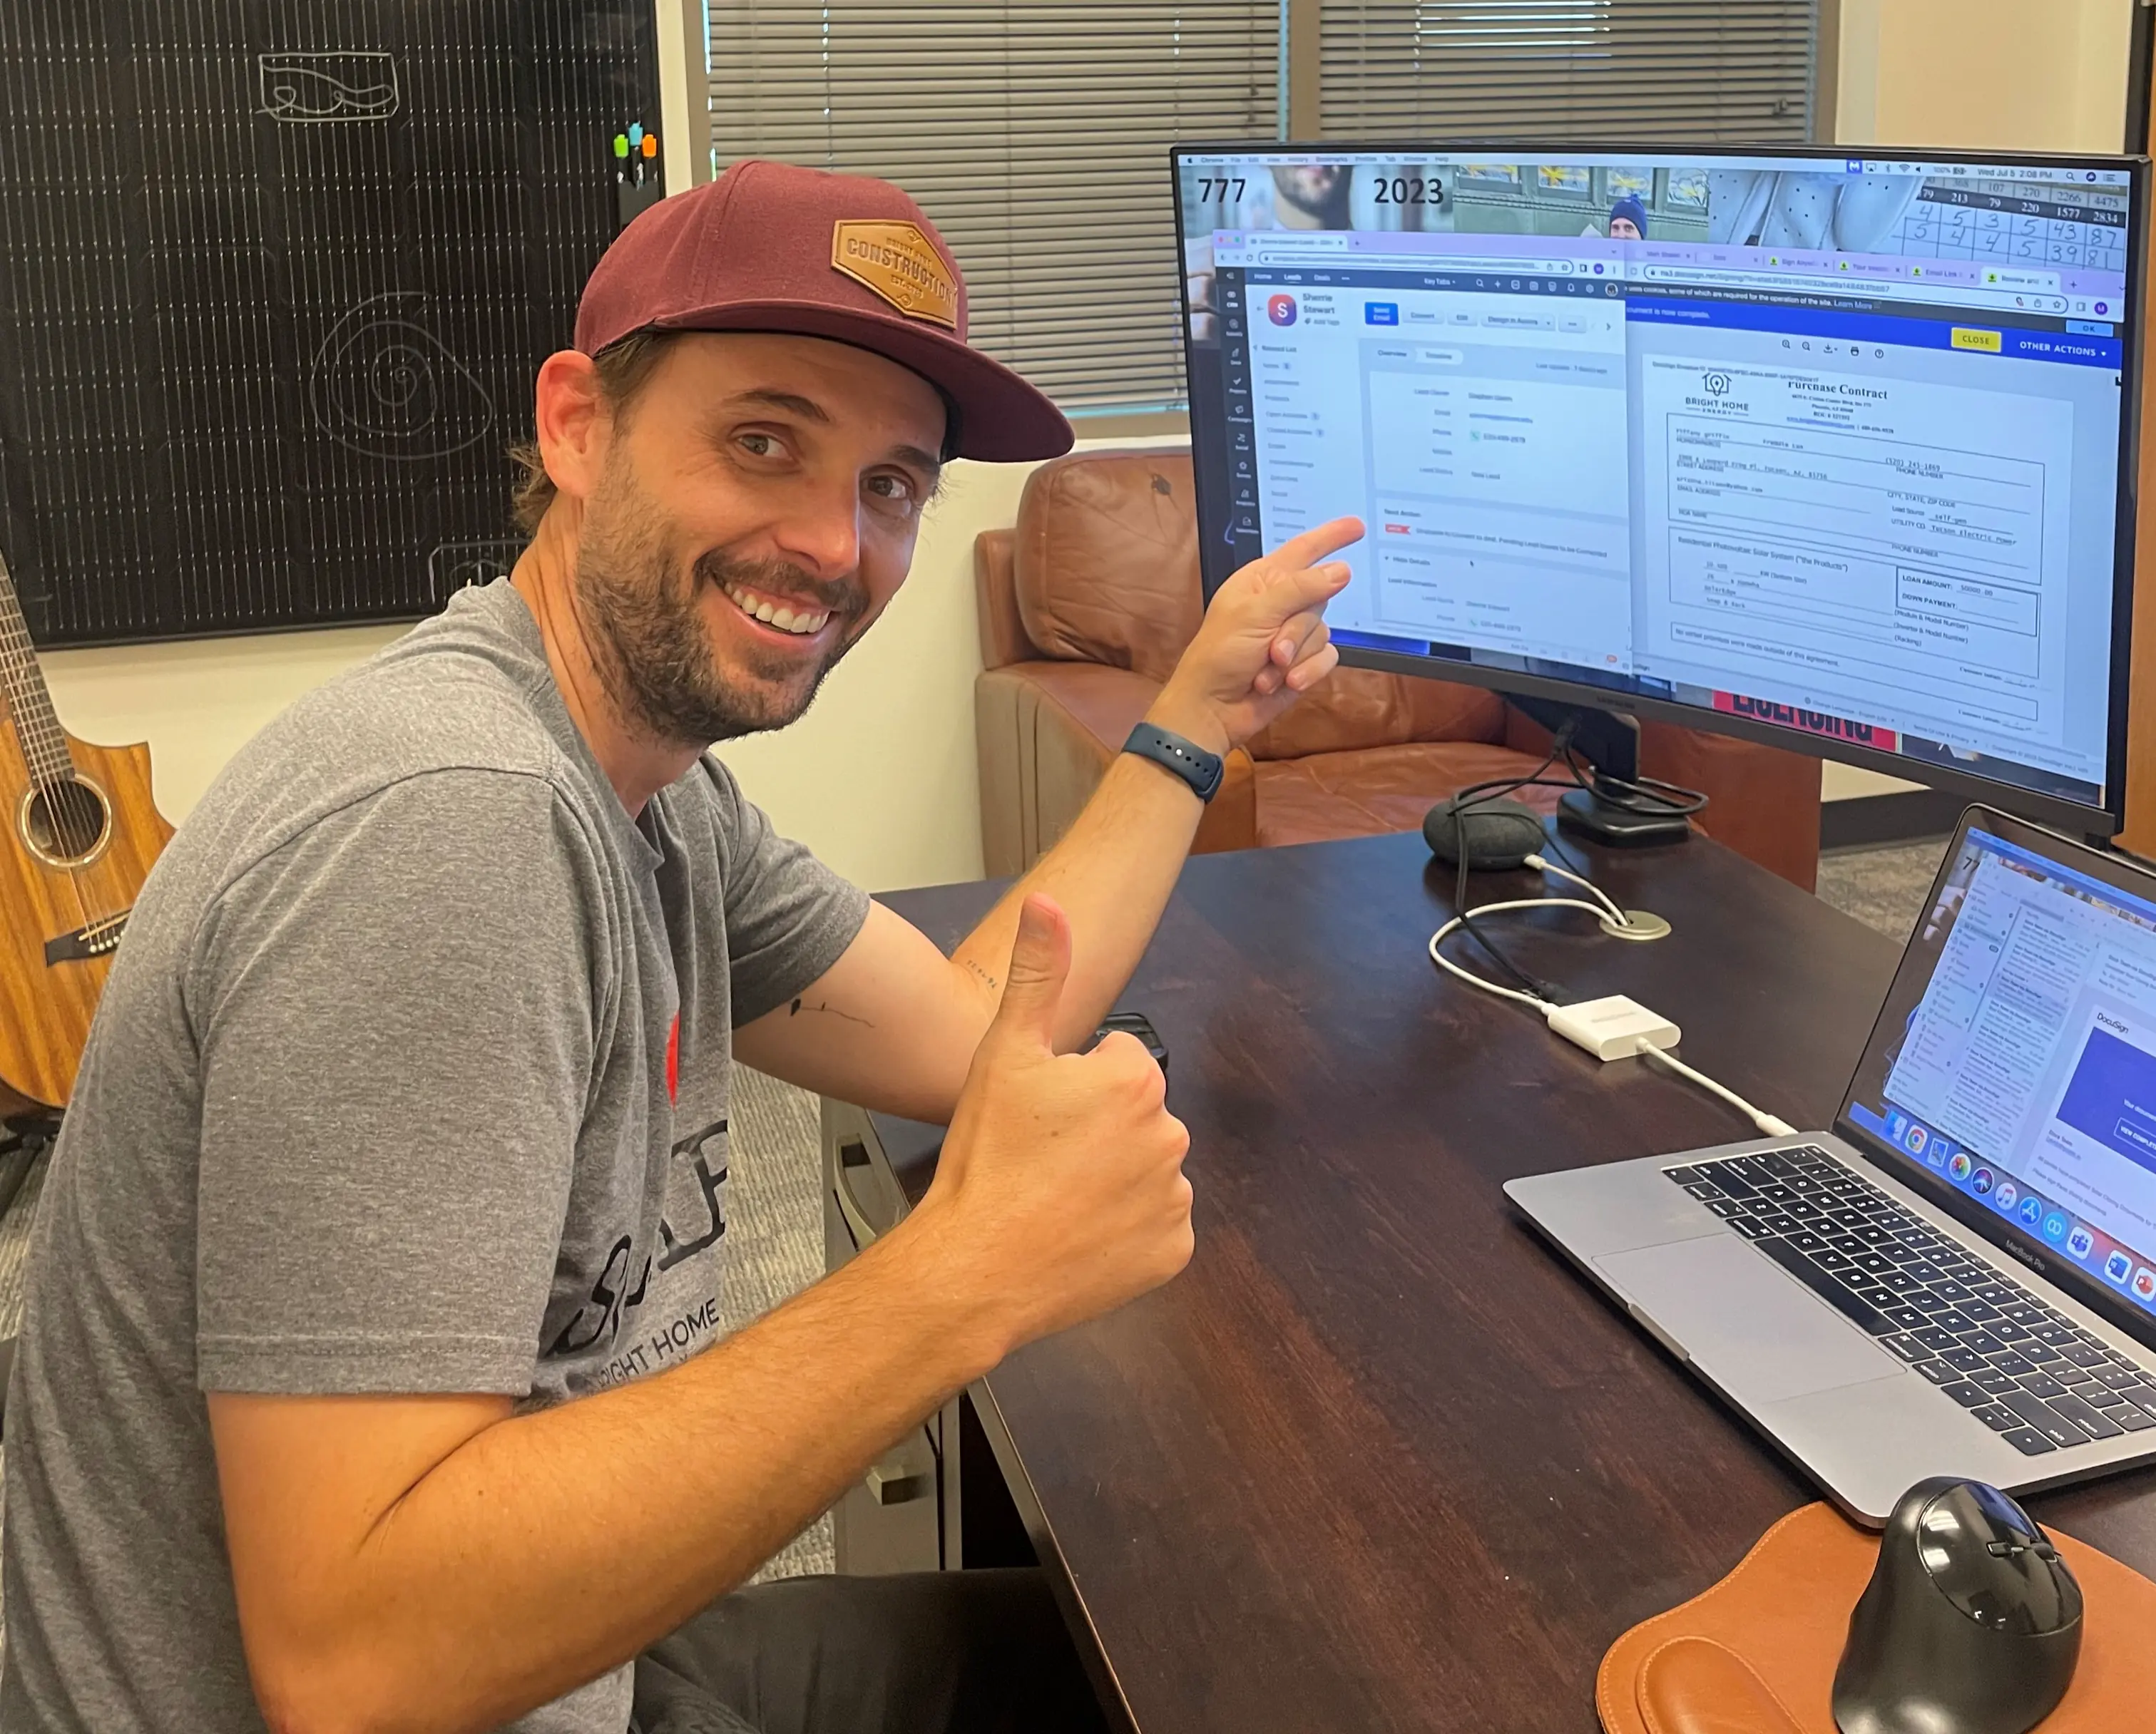 The Deal Conversion should be completed within 24 hours of the sale in order to keep up with our timelines!
Site Visit
The first step after a deal has been created, is the intro call!
During this intro call, the account manager will introduce themselves to the customer & gather any and all information that could prevent a site visit from going smoothly, as well as information that could cause potential delays in the project.
They will hopefully schedule a site visit with the customer on the phone, but if the call results in a voicemail, they account manager will schedule the site visit for the next available day. We do this because without the information from the site visit, the deal is unable to move forward at all, as we need the photos and information to request/complete the design!
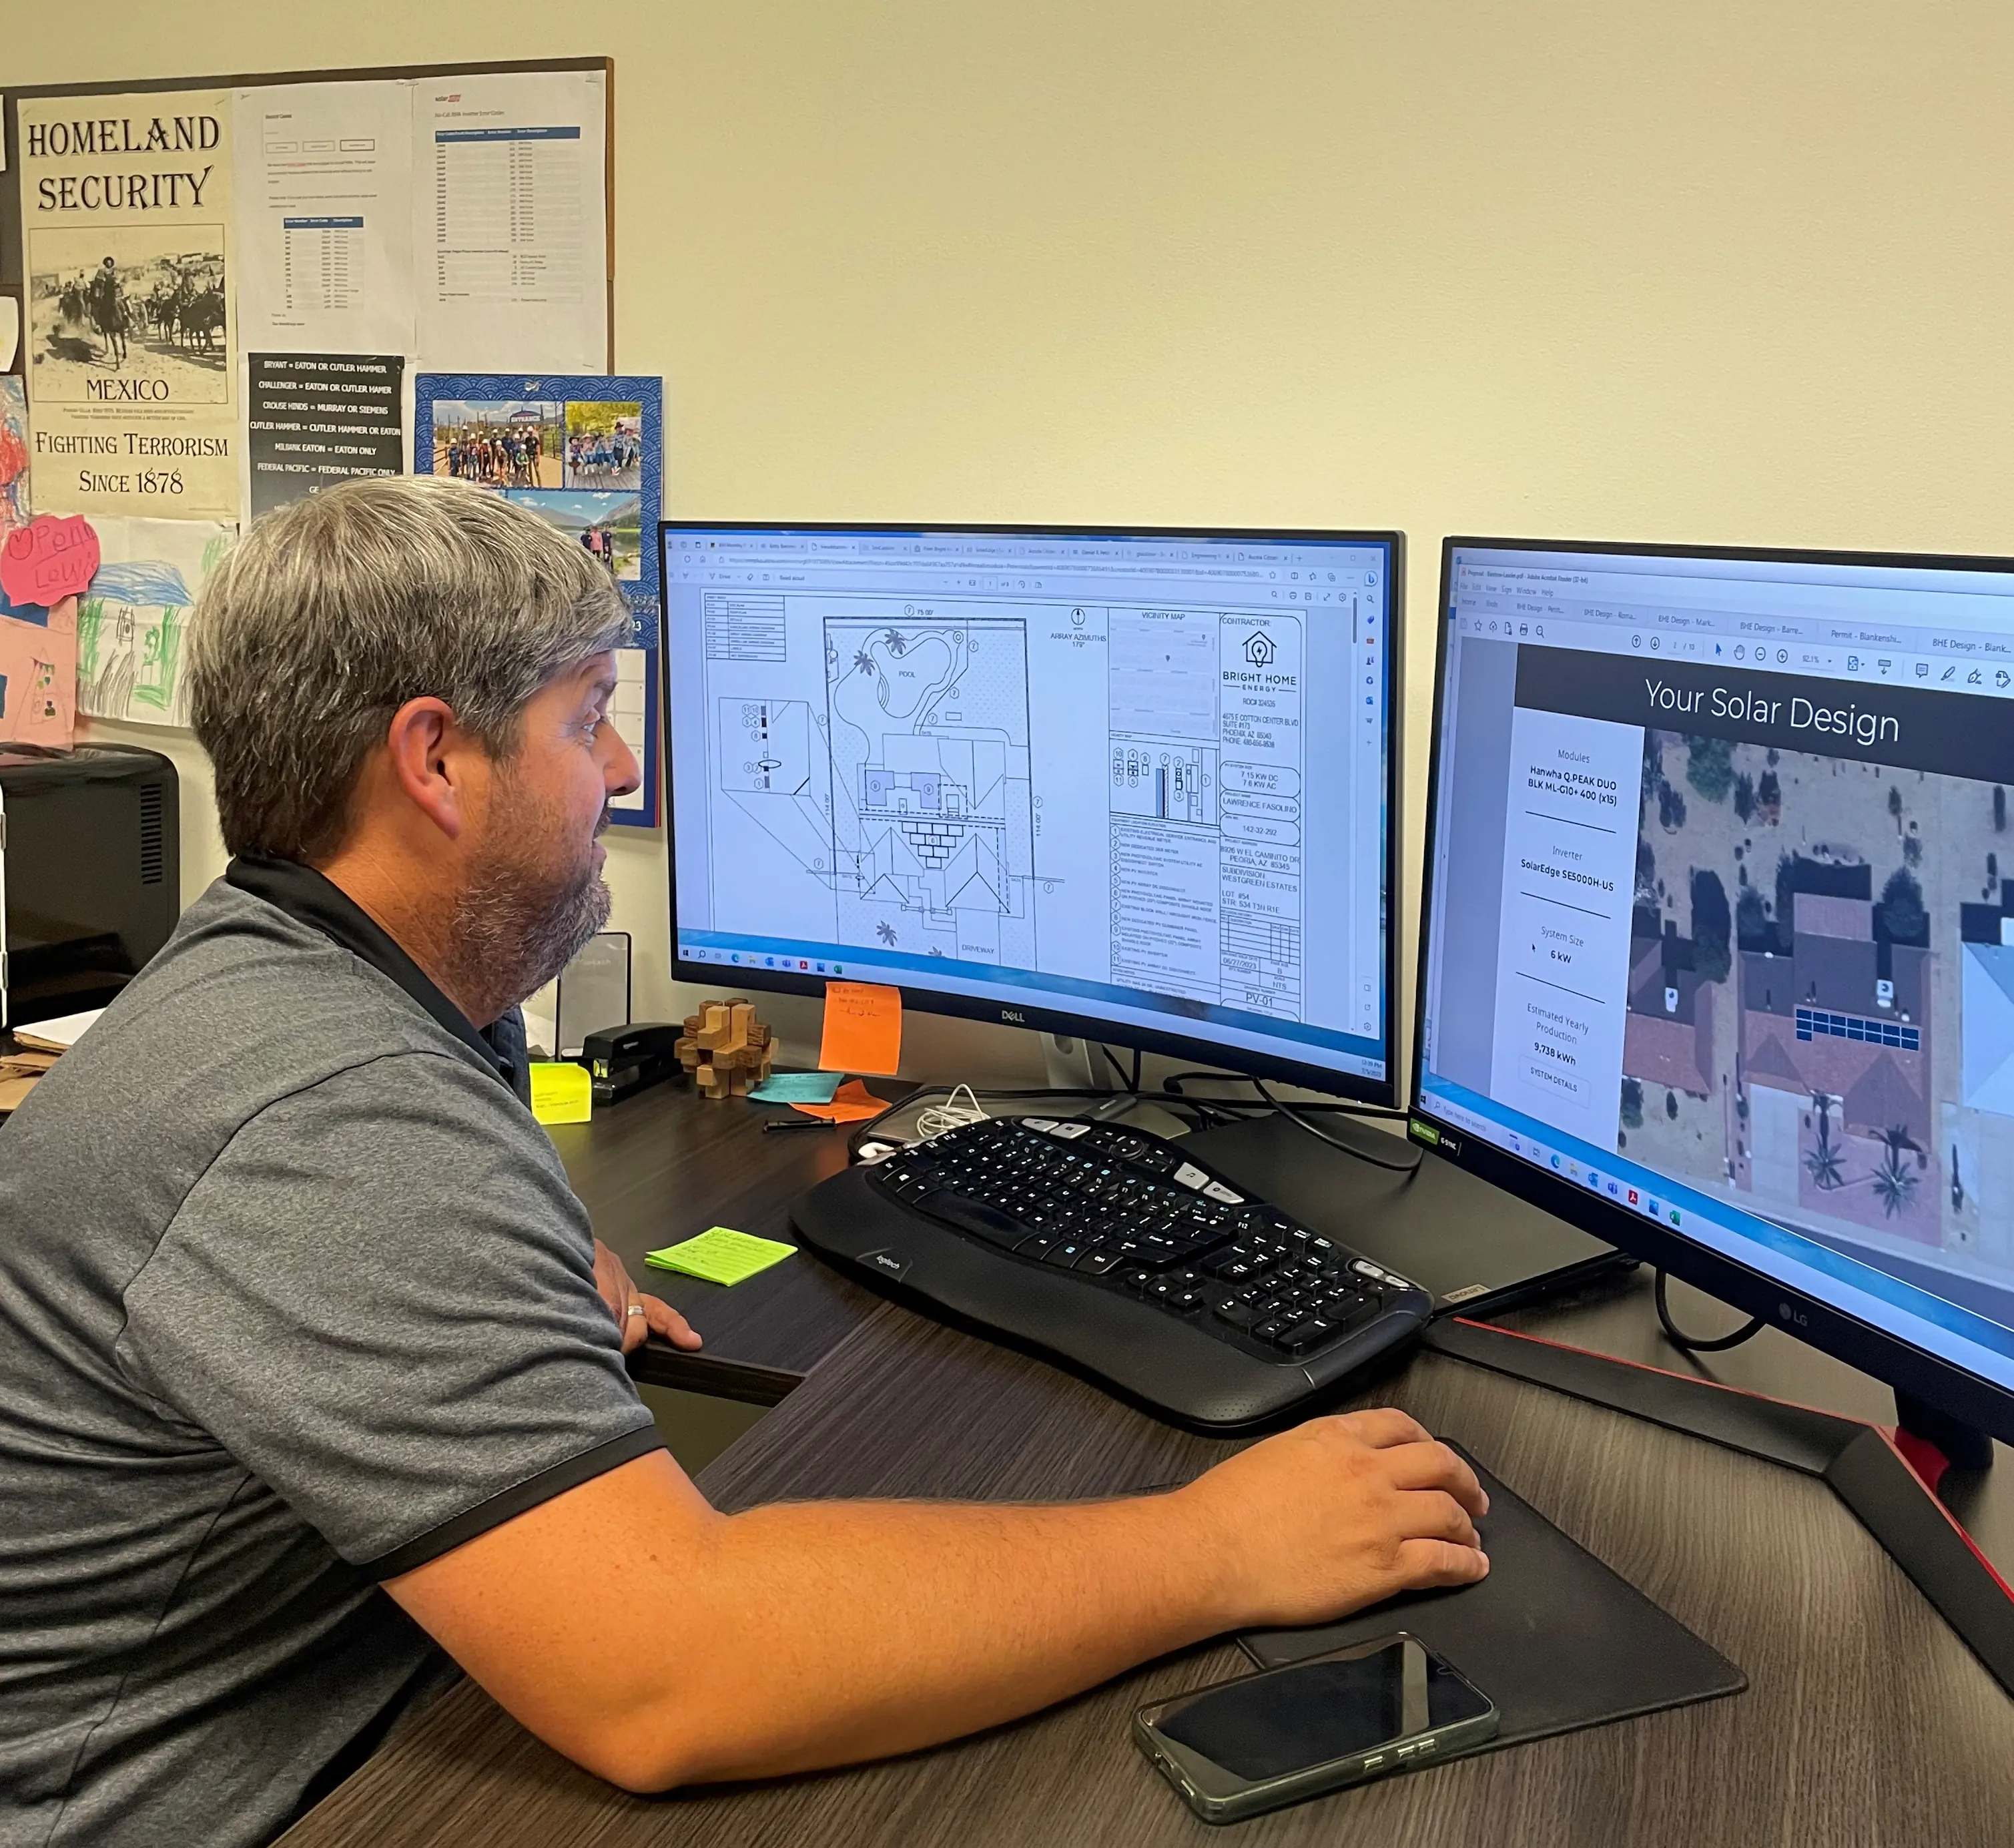
Design
Once the site visit is completed, an operations team member reviews the photos and information in order to push the deal into design.
At the site visit review, we will be able to see if there are any issues we may come across as the job progresses, such as a bad roof or poor electrical work. If any issues are noticed, we will hold off on moving forward to design until we have a clear plan of how the issues will be addressed. Once any issues are resolved, we send our gathered information to an engineer, requesting a design.
  The design should be received back within 3 business days of the request.
At the site visit review, we will be able to see if there are any issues we may come across as the job progresses, such as a bad roof or poor electrical work. If any issues are noticed, we will hold off on moving forward to design until we have a clear plan of how the issues will be addressed.
Design Review
Once the design is completed, a team member checks key points to ensure everything is correct — things like panel type, placement, system size, and customer information. When confirmed, the design files are saved to the customer’s OneDrive folder.
 The CRM is updated to reflect that design is complete, which triggers tasks for the next team members. The design then goes into its final review by our install manager to confirm the plan is efficient for both our team and the customer and that all details are accurate. After the final review, the site plan is sent to the customer for approval, and they have 24 hours to review and provide feedback.
Efficiency
Once the design has been sent to the customer (via email) our team also sends a text message informing them to check that email ASAP, and the account manager calls the customer to get the approval/feedback. On this call we also inform the customer if there is any electrical work that needs to be done along with the solar (MPU/Derate/SPU).
Once that information is provided, the account manager will also schedule any efficiency that was sold along with the solar system. Having the efficiency scheduled at this time has worked well for the company, as it gives the customer something tangible while we go through the longer process of permitting!
Once that information is provided, the account manager will also schedule any efficiency that was sold along with the solar system.
Permitting
After the design has been approved by all parties, our team moves into permitting.
At this stage, we submit applications to the AHJ, Utility Provider, and HOA for approval of the solar install.
This step can take anywhere from 1–6 weeks. During this time, account managers give update calls every 10 days to let the customer know that we are still working on their project, even if there is not visible movement yet.
Electrical Work
Once AHJ and utility approvals have been received, we coordinate with the utility provider and our electrician to complete any required MPUs, derates, and SPUs.
We must schedule a date that works for everyone involved, including the homeowner. Because the utility provider is often booked out at least two weeks, projects that require electrical work can take longer than projects without it. Once the date has been set, an electrical inspection is scheduled with the AHJ to ensure we receive clearance to reconnect power after the electrical work has been completed.
We must schedule a date that works for everyone involved, including the homeowner. Because the utility provider is often booked out at least two weeks, projects that require electrical work can take longer than projects without it.
Installation
Once any needed electrical work has been completed, we are ready for install!
At this stage, our warehouse manager orders needed materials and works the customer onto our install schedule. An operations team member also ensures labels and the permit pack are ready for the install date.
 Once everything is worked out, we confirm the install date with the homeowner and move into the finishing stages of the project—starting with the install. Our crews take their time on every job to make the city inspection a quick and easy step!

At this stage, our warehouse manager orders needed materials and works the customer onto our install schedule. An operations team member also ensures labels and the permit pack are ready for the install date.
City Inspection
After the install is completed, we schedule a final inspection with the AHJ. Their inspector ensures the install meets code and is safe.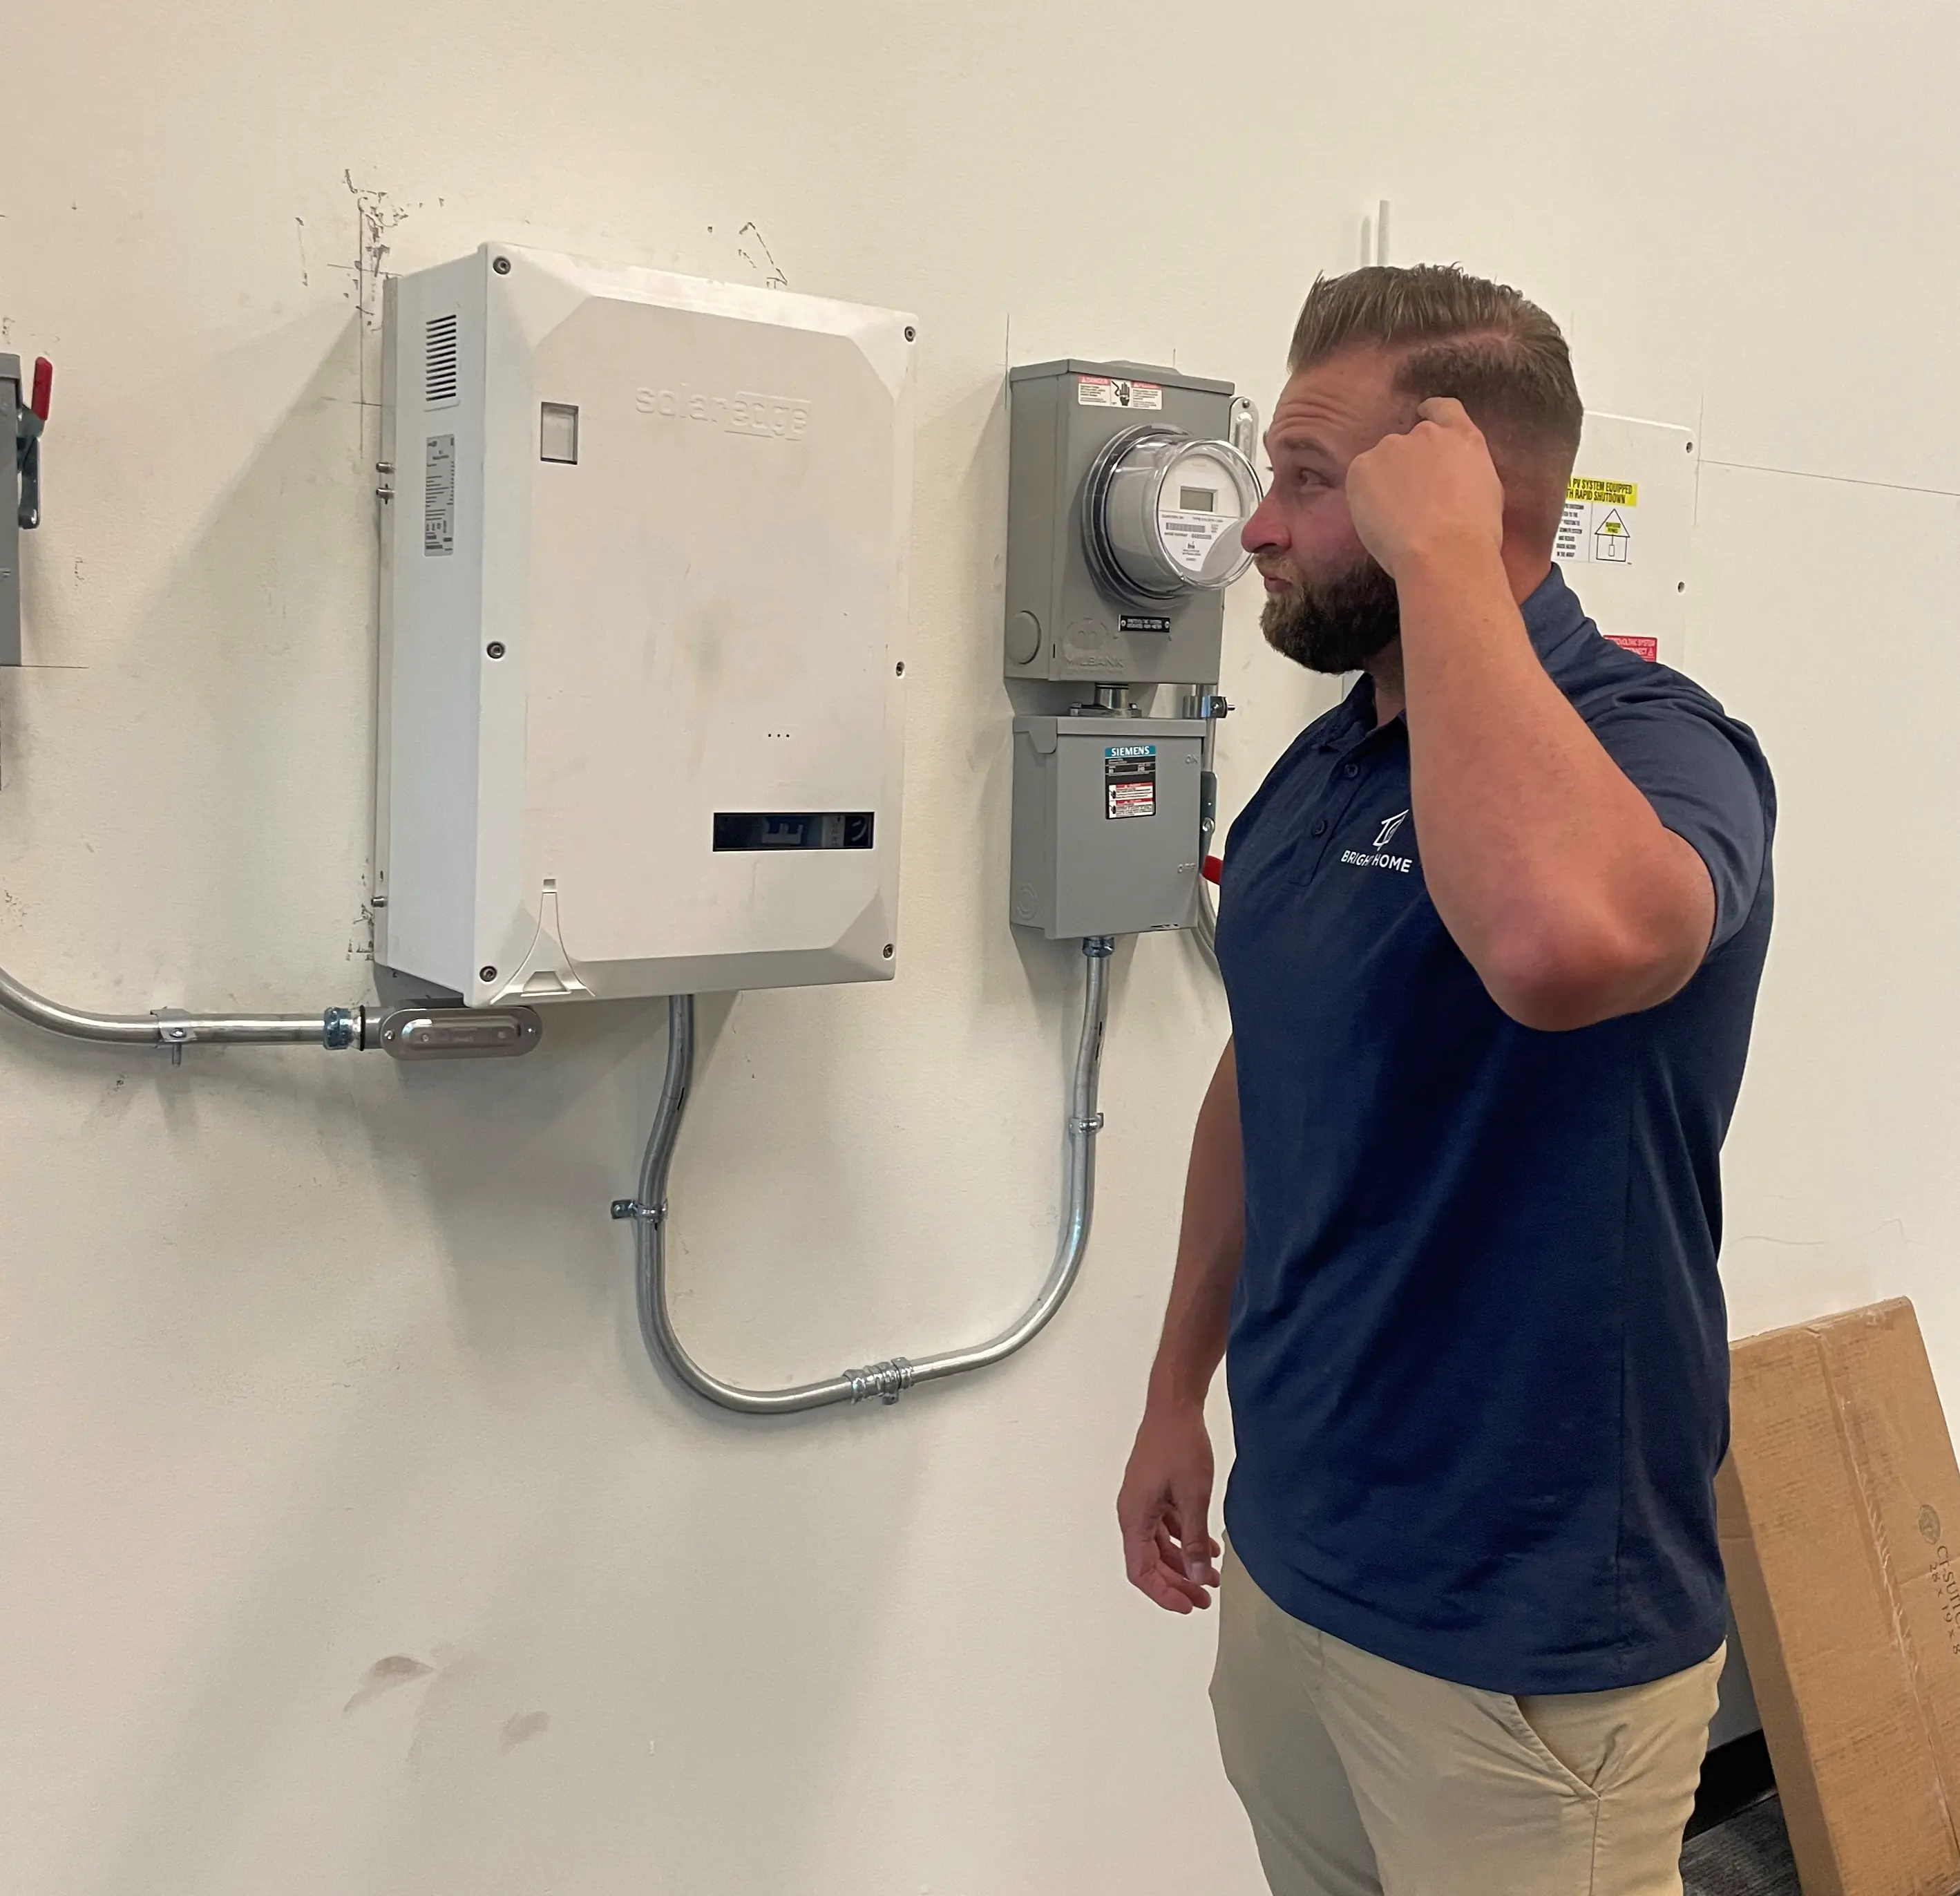 Sometimes the homeowner needs to be home for this inspection, so we coordinate a date with them and the AHJ. Once the inspection is completed and passed, we receive a “Green Tag.” The Green Tag is proof we passed inspection, which we submit to the utility provider so they will go out and set the new solar meter.
Utility Meter Set
Once the Green Tag is submitted to the utility, the customer is placed into the queue for meter set.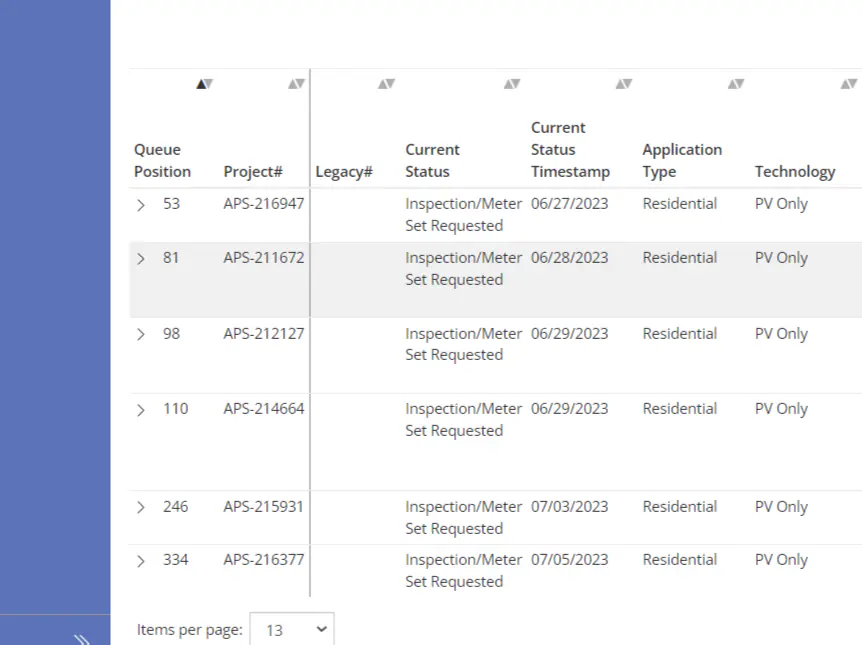 APS may come out within the next 10 business days, while SRP typically schedules a specific date to set the meter. Each utility provider coordinates this differently, and our in-house utility technician knows the process for each one—making it smooth sailing when Account Managers relay updates to customers.
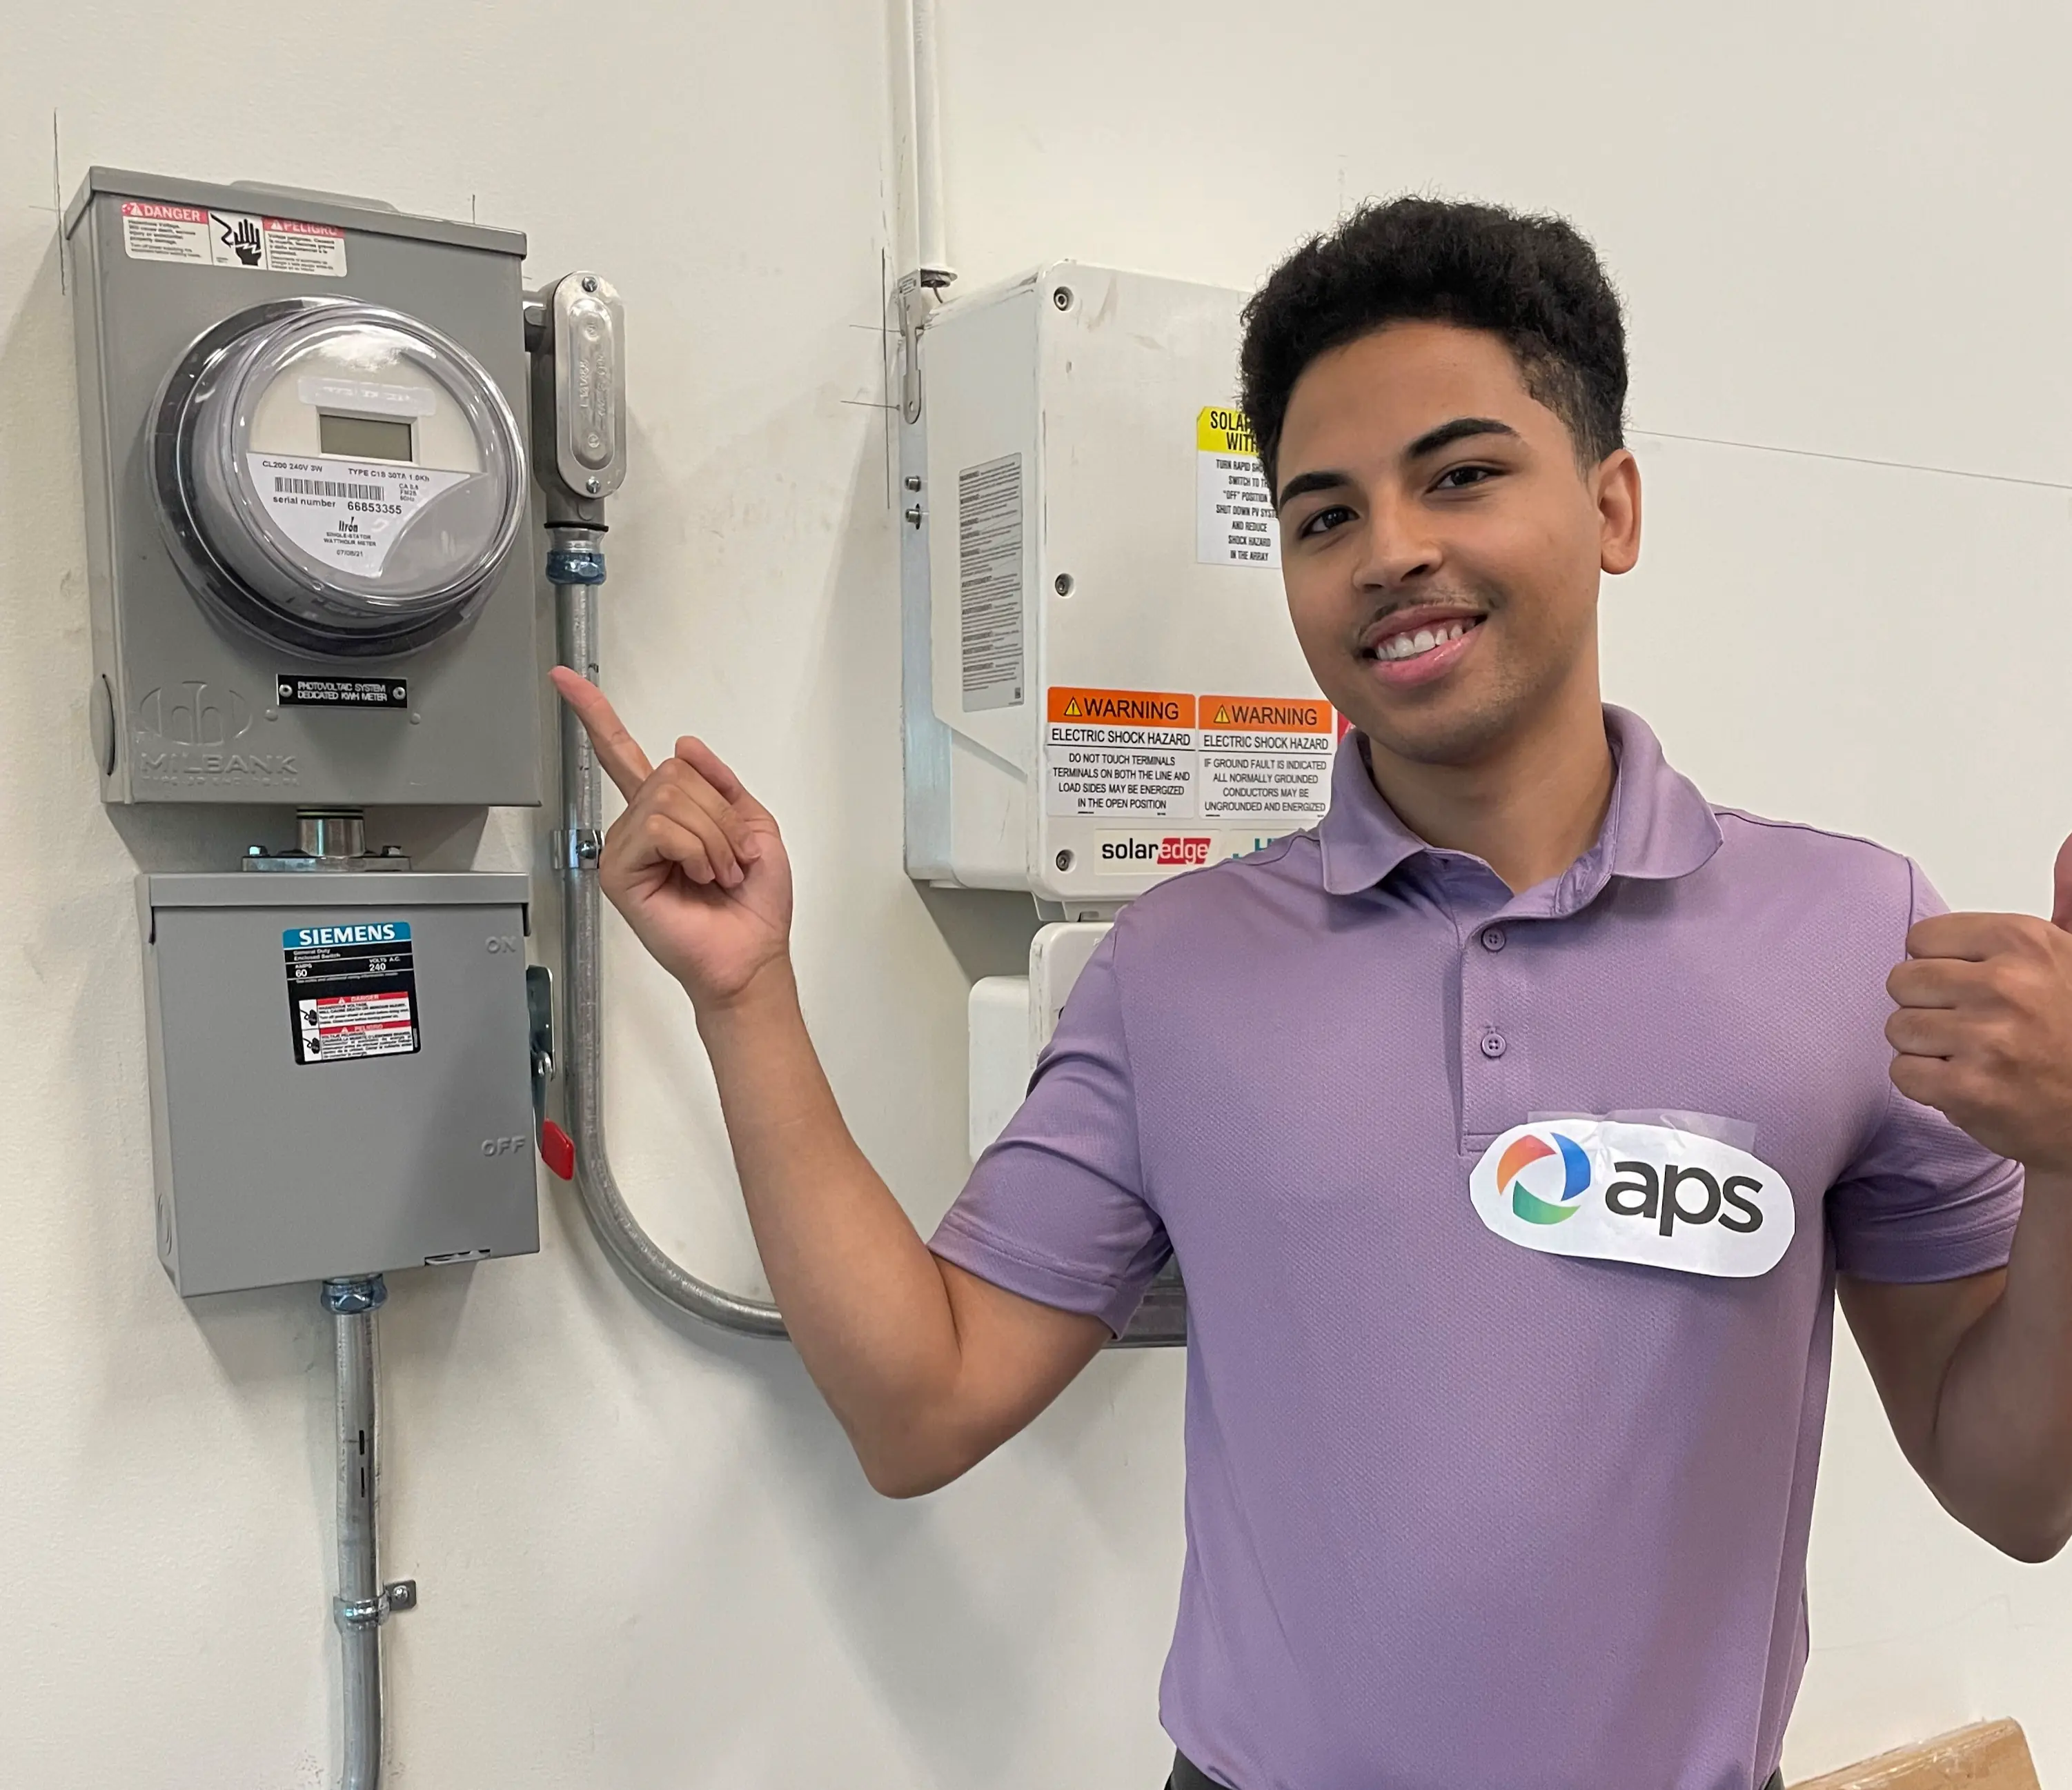
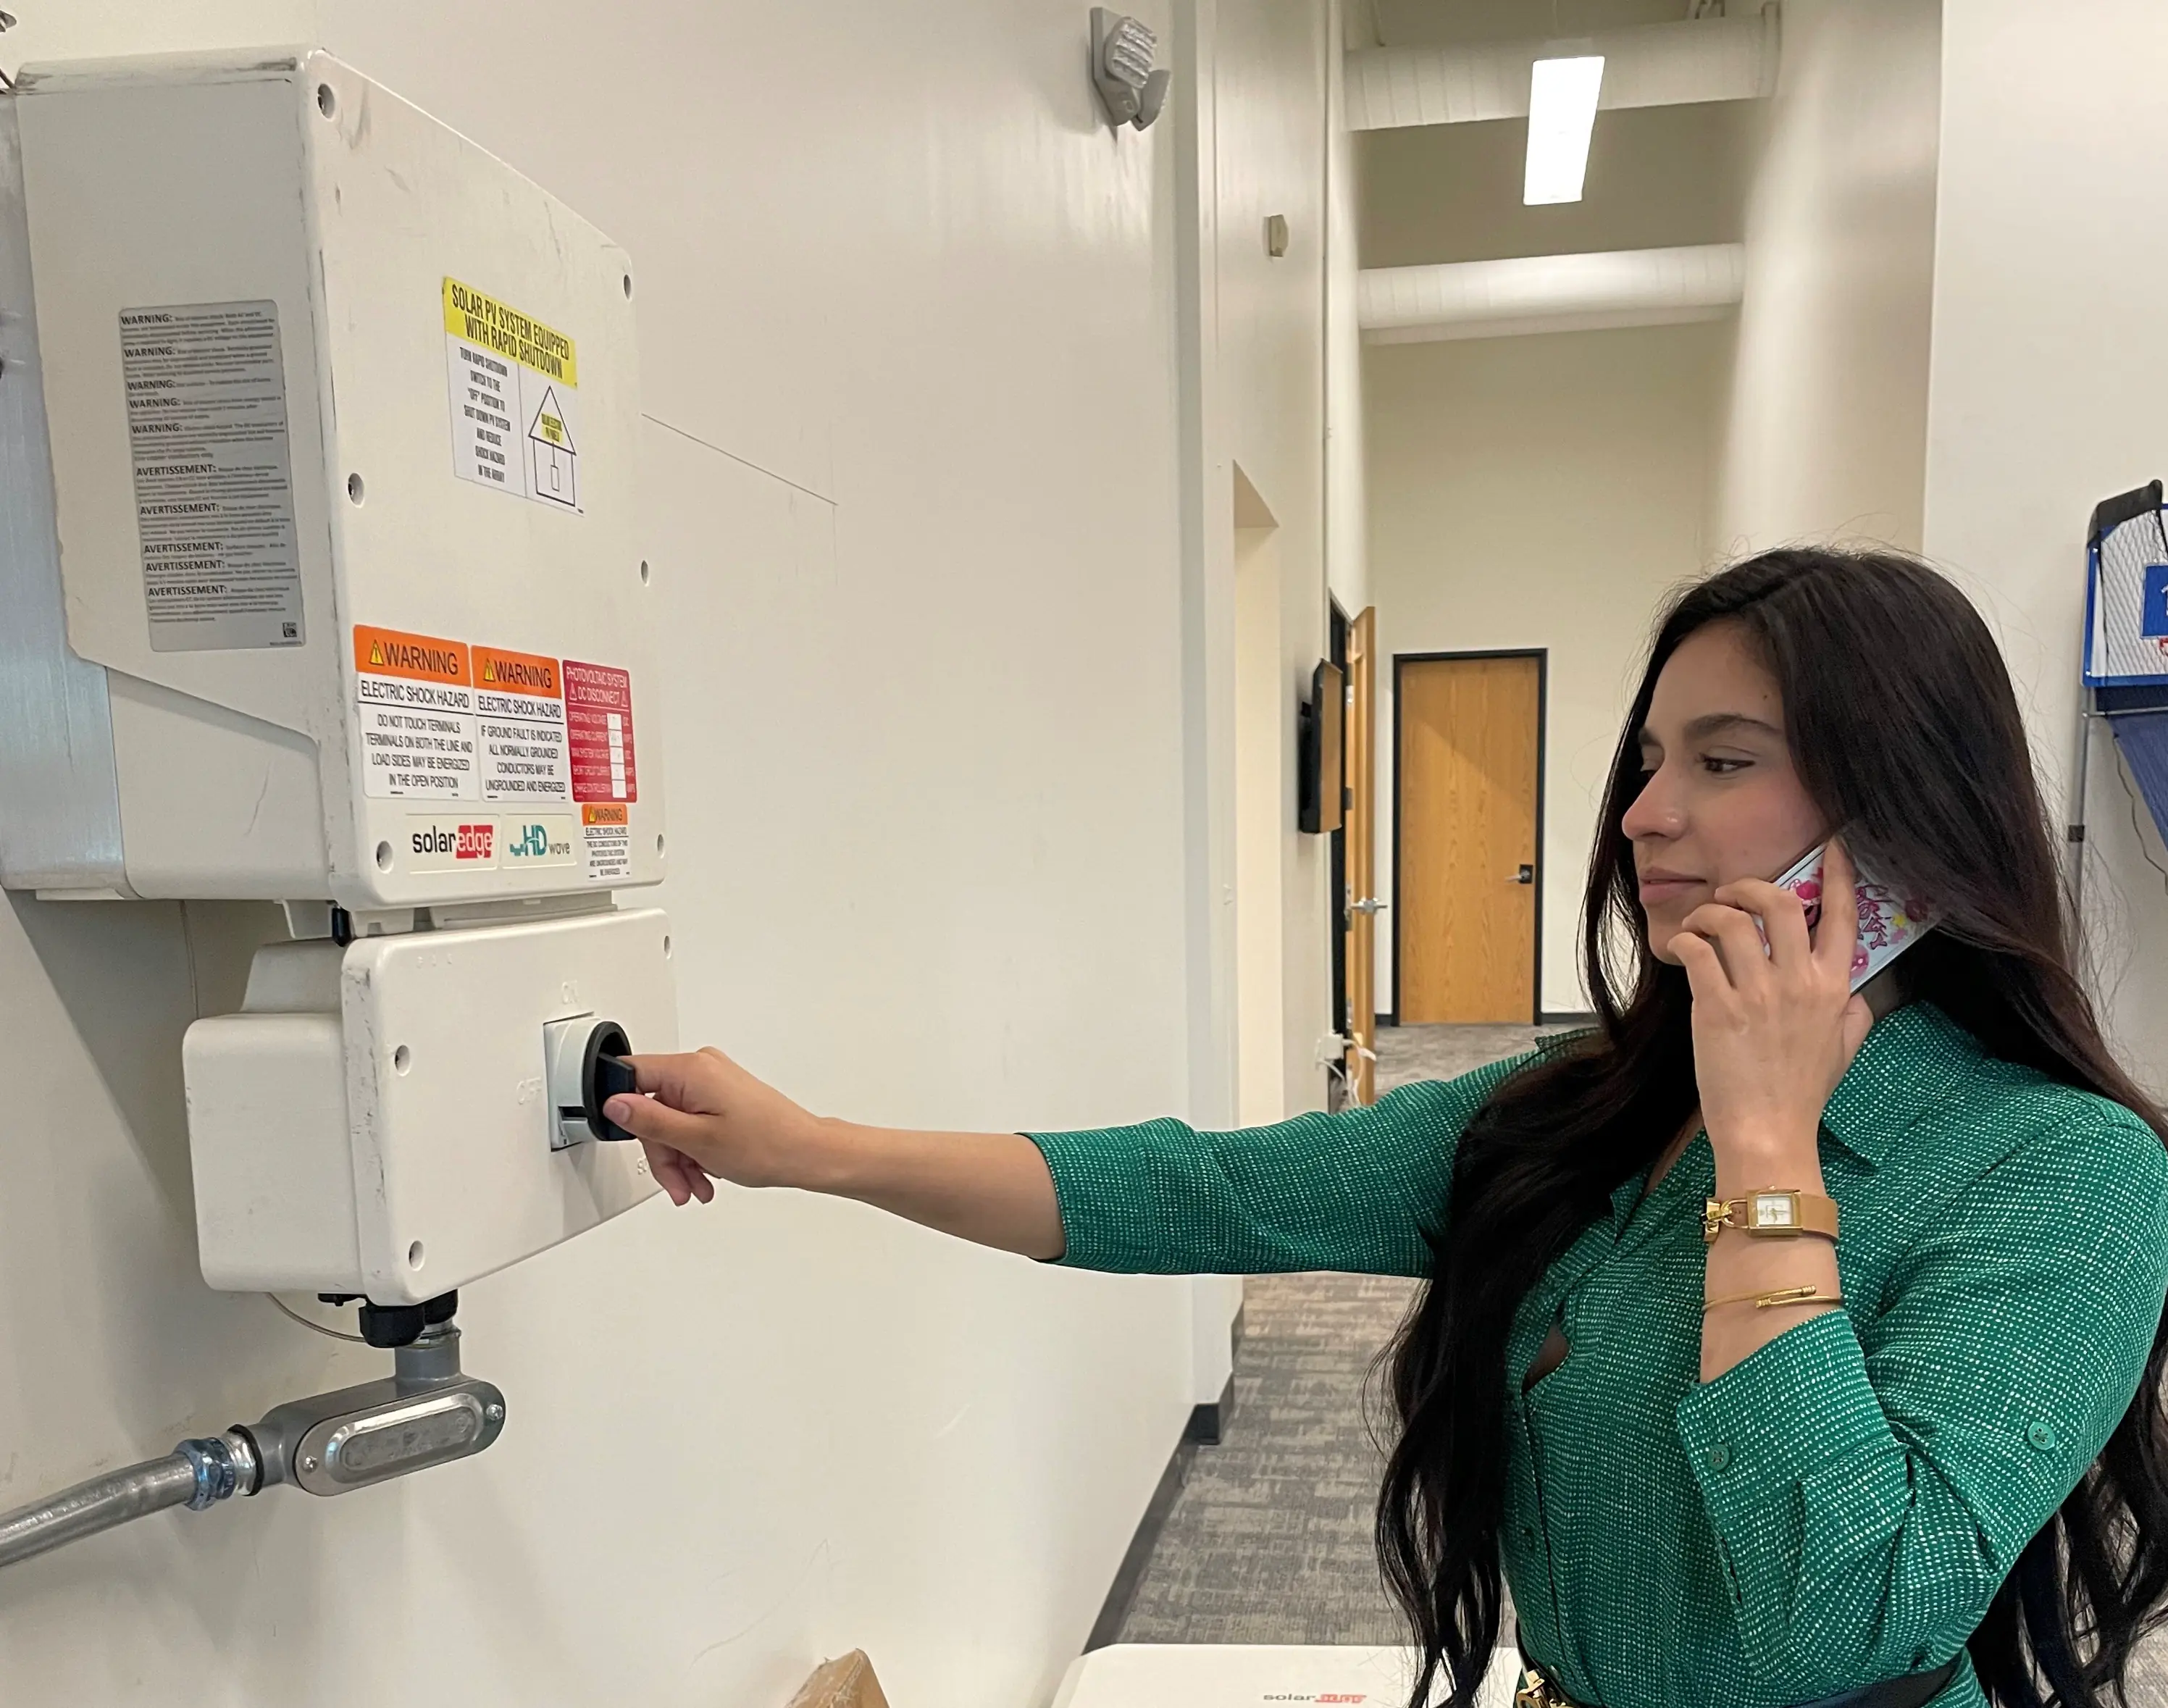
PTO / Commissioning
Once the utility provider sets the meter, both we and the homeowner receive Permission to Operate (PTO).
At this point, either the homeowner calls us or we call them to walk through the steps of turning on their solar system.
 We always ensure all payments have been made before completing this step.
At this point, either the homeowner calls us or we call them to walk through the steps of turning on their solar system.
Monitoring
Once the system has been turned on, our team creates a monitoring profile for both us and the homeowner. We monitor their system for 5 days to ensure all components are working as expected, then we send a link so they can monitor performance themselves.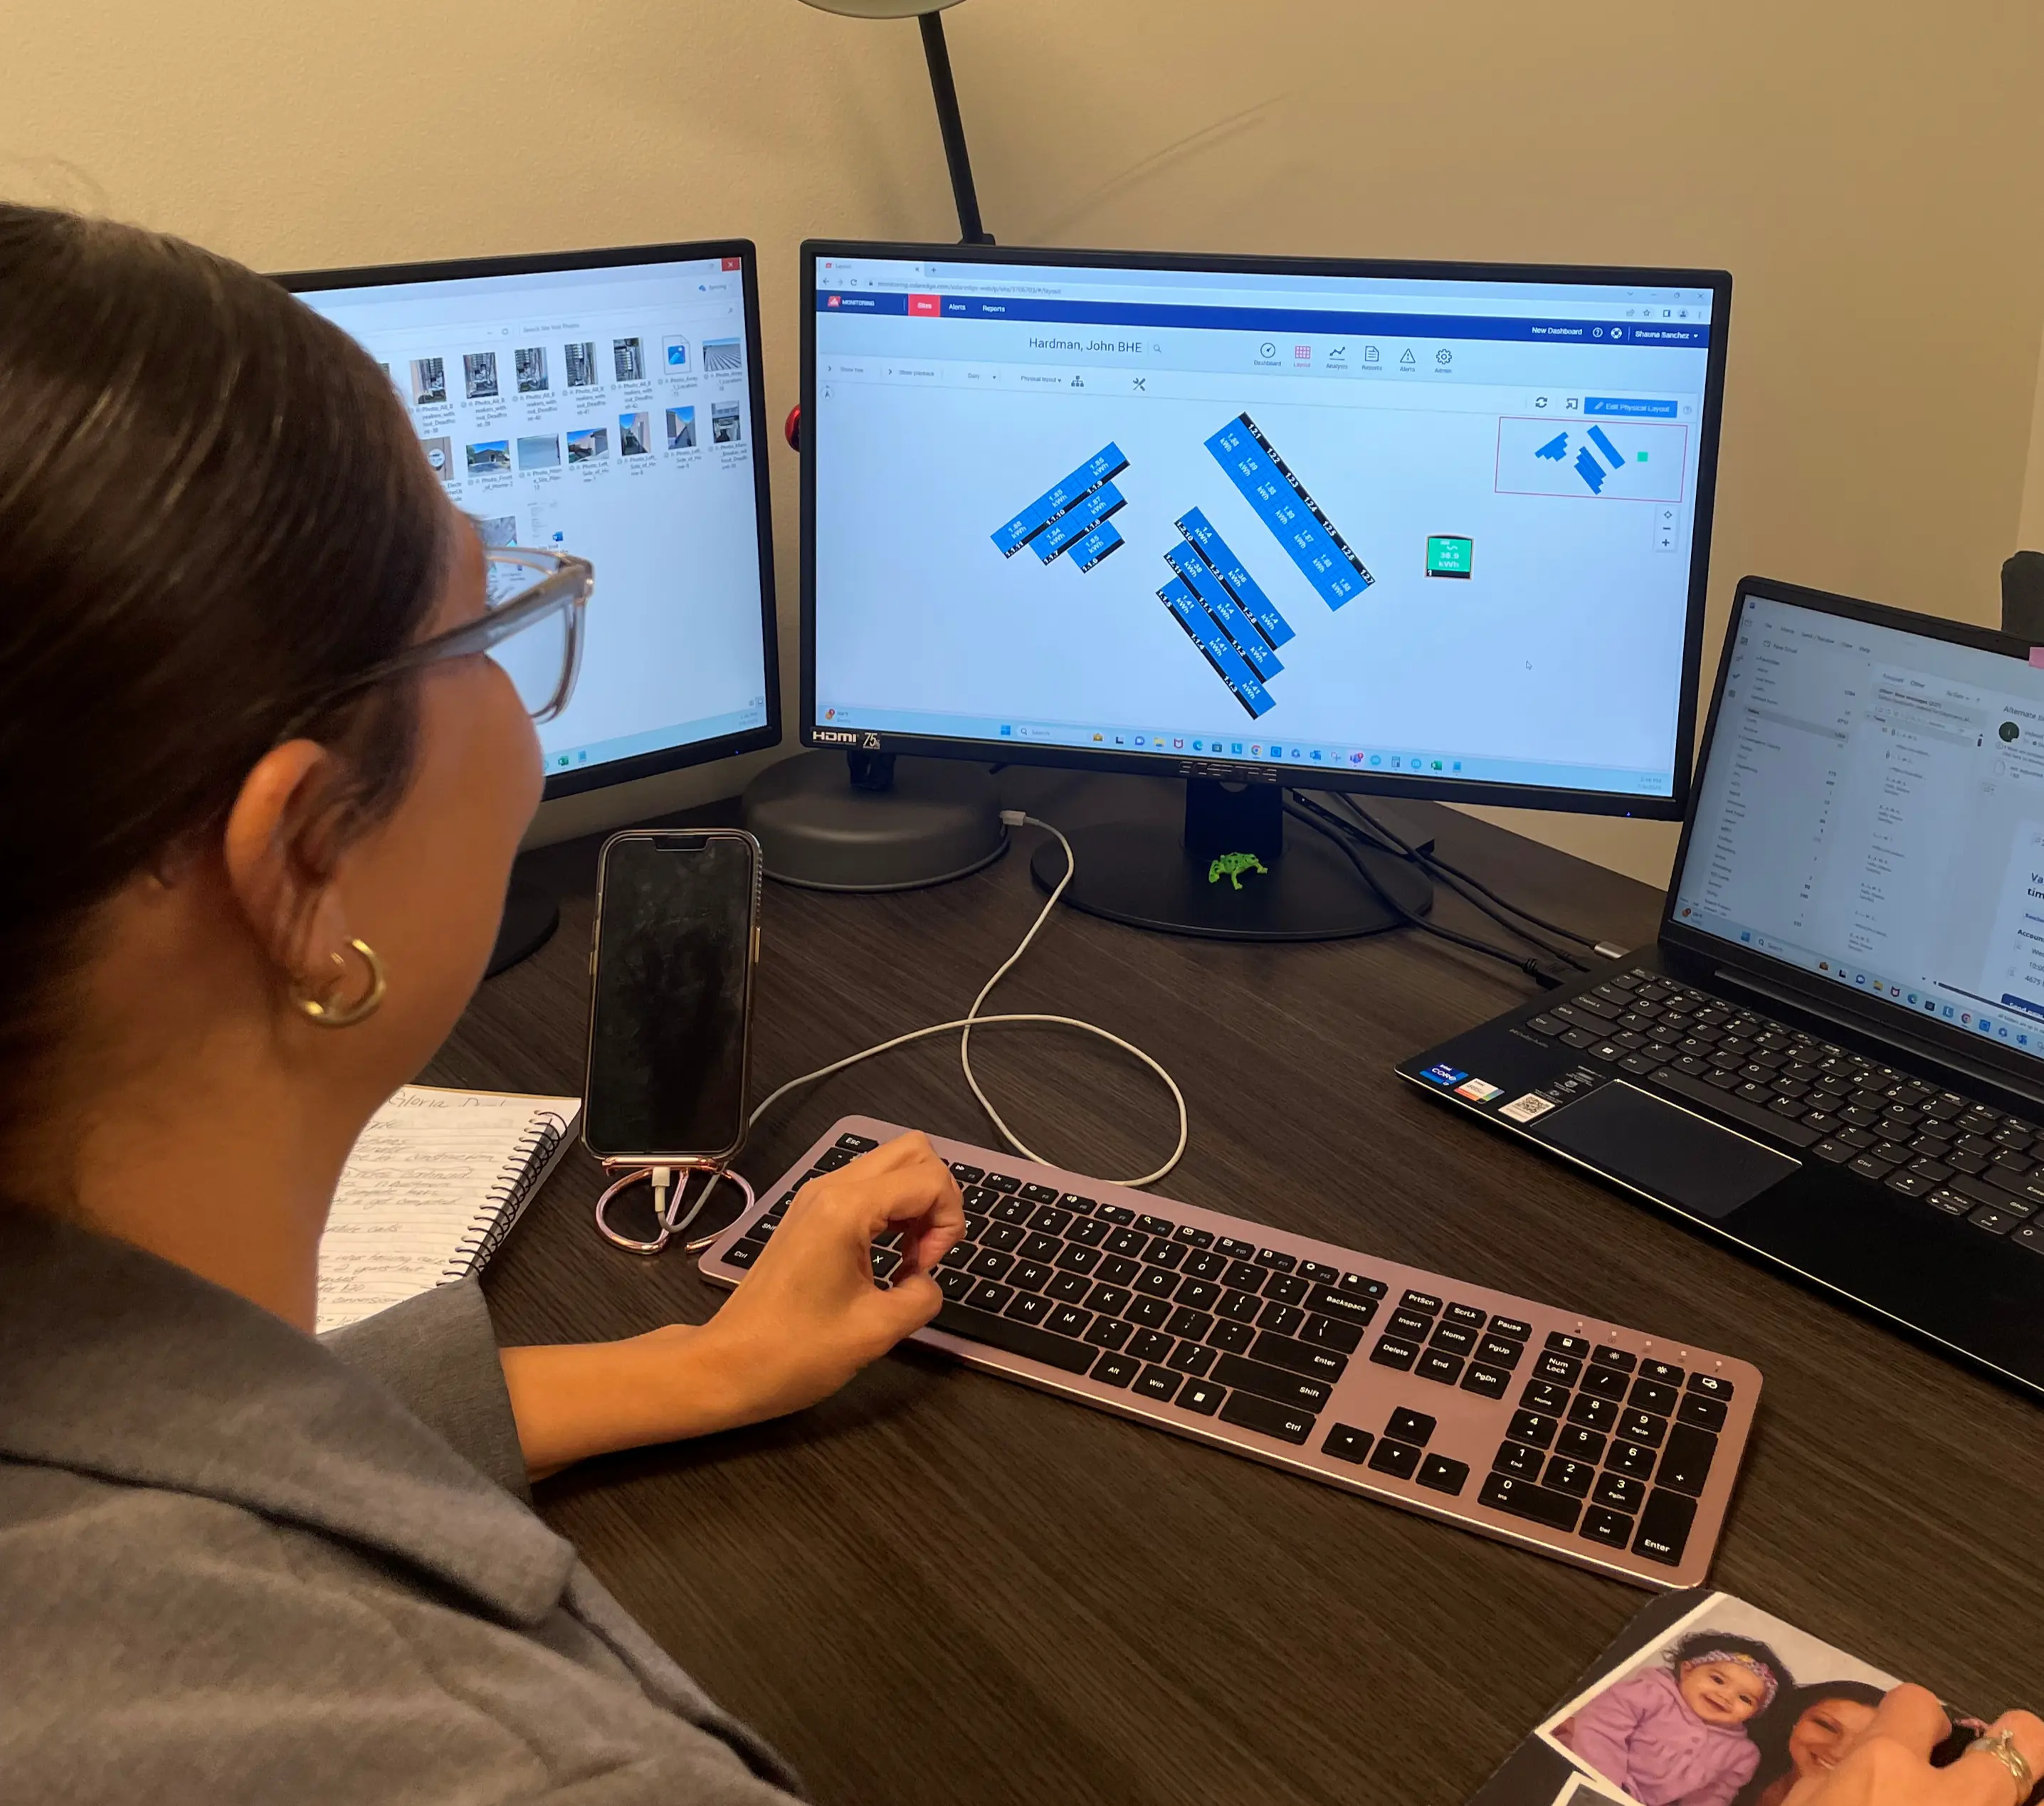
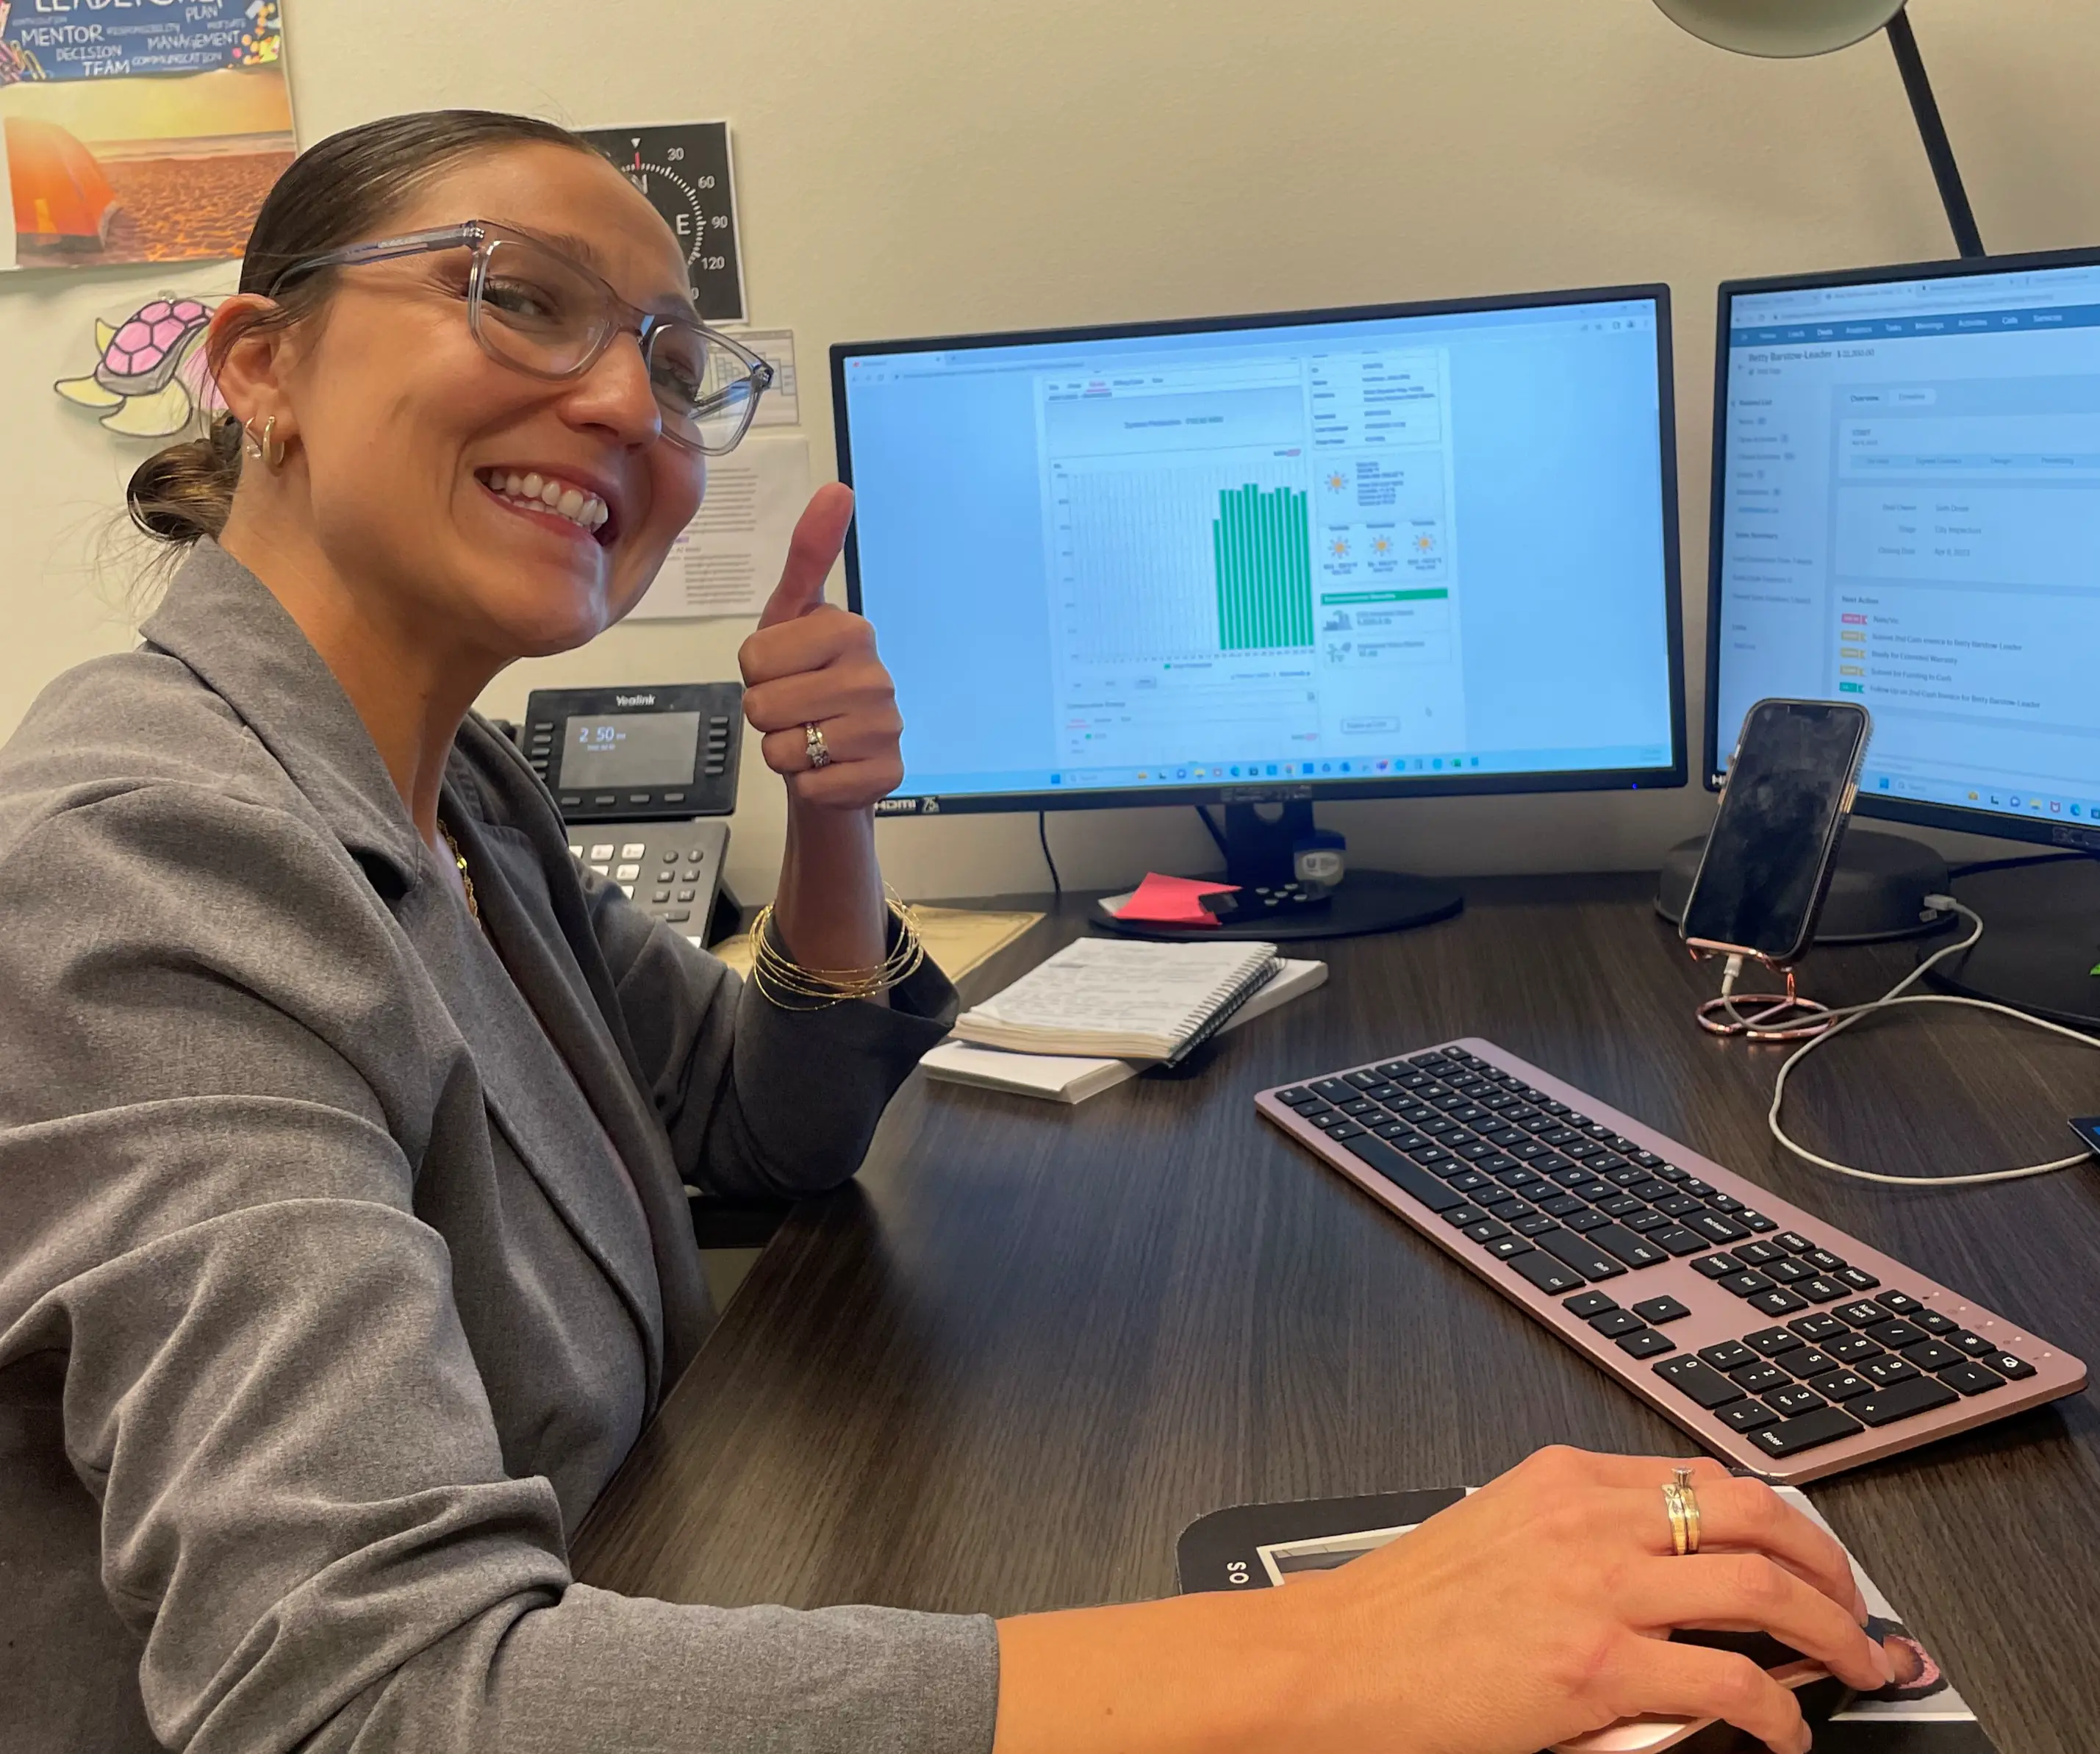 The monitoring profile shows system production and, in some cases, consumption. We remind homeowners that monitoring is their responsibility; if we spot a problem first, we give them a heads up and get it taken care of.
Bird Wire
After the system is fully turned on, we check whether bird wire was included in the deal. If so, we reach out to our sub contractor to let them know we are ready to schedule bird wire for the recently commissioned customer. Bird wire must be installed after the system has been turned on, in case any changes were needed between install and PTO. Our account managers inform customers that the bird wire company will reach out to schedule the installation.
Review
Here at Bright Home, we work hard to ensure an excellent customer experience. Our strong relationships make our account managers confident asking for 5-star reviews on Yelp, Google, BBB—or all three!
We pride ourselves on excellent customer service, the proof is in the reviews!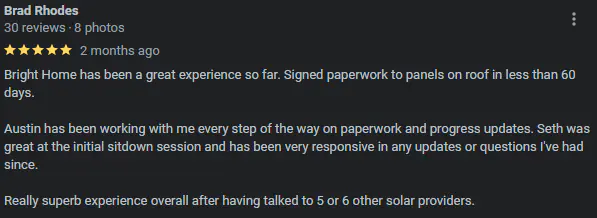
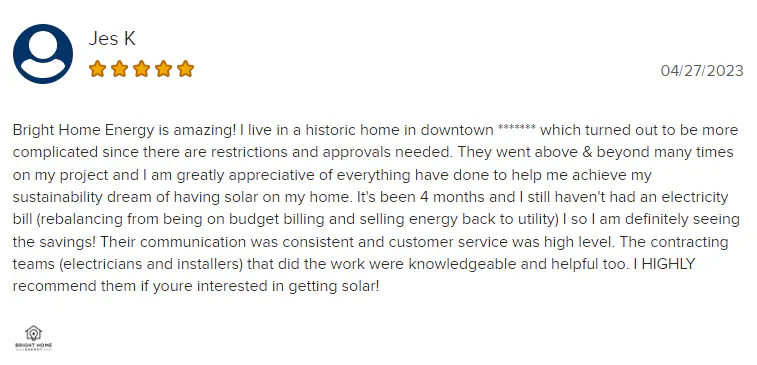
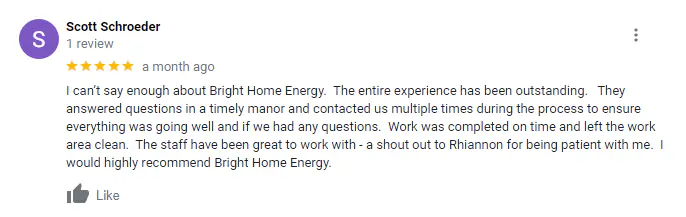
We pride ourselves on excellent customer service, the proof is in the reviews!